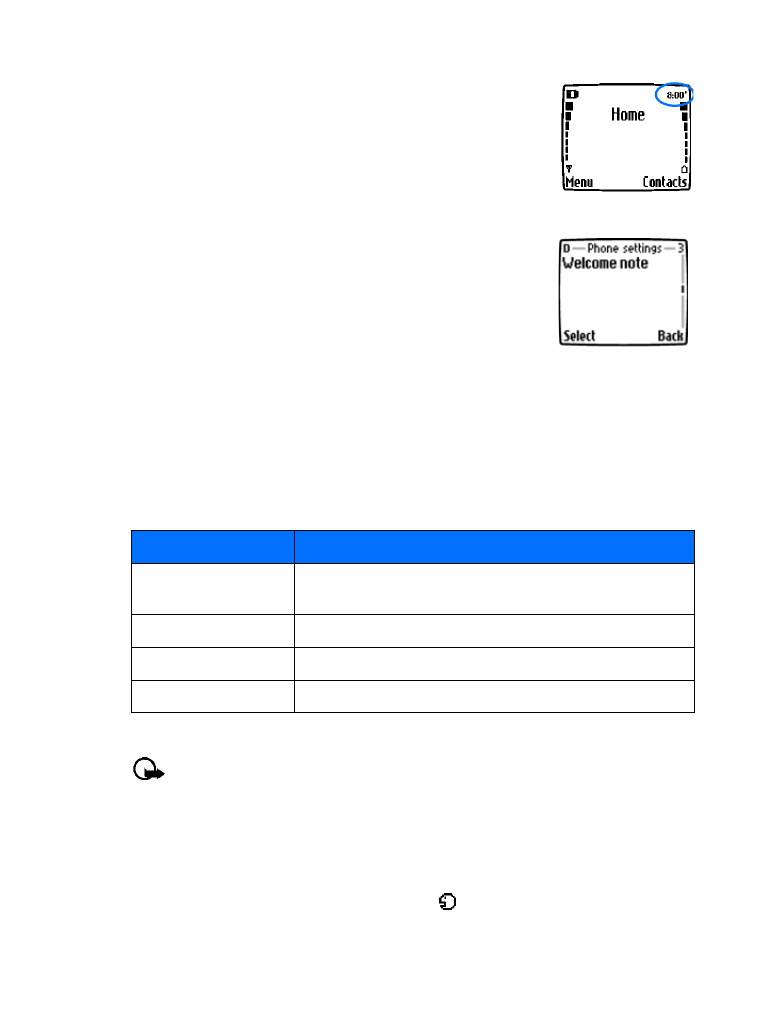
Scroll to Set the time, and press Select.
3
Enter the current time, and press Select. For example, to enter 7:30, enter 0730.
4
Scroll to am or pm, and press Select.
Selecting time format
1
Press Menu 4-3-1 (Settings > Time settings > Clock).
2
Scroll to Time format, and press Select.
3
Scroll to either 24-hour or am/pm, and press Select.
Allowing the network to set the clock
1
Press Menu 4-3-3 (Settings > Time settings > Auto update of date and time).
2
Scroll to On (or Confirm first), and press Select.
Important:
If you use the Auto update of date and time option while outside your
digital network, you may be prompted to enter time manually (see above). Network time
will replace the time and date when you re-enter your digital network.
Note:
If your battery has been removed or has drained outside the digital network, you
may be prompted to enter your own time (once the battery is replaced/recharged, and
you’re still outside of the digital network).

[ 45 ]
Personalization
Displaying or hiding the clock
1
Press Menu 4-3-1 (Settings > Time settings > Clock).
2
Depending on the current settings, either Hide clock or Show
clock is highlighted.
3
Press Select.
• CUSTOMIZE THE WELCOME SCREEN
You can set your phone to display a brief message each time you
switch on your phone. The message can include your name or a
reminder and can be up to 44 characters long.
Create a startup message
1
Press Menu 4-2-3 (Settings > Phone settings > Welcome note).
2
Enter the text of the startup message (using traditional text entry).
3
Press Options, and select Save.
• LEARN ABOUT VOICE COMMANDS
The voice command feature provides handsfree operation of certain menu options and commands.
Just like voice dialing, you must create a voice “tag” for the commands you want to use (please
read “Assign a voice tag to a phone number” on page 52 for detailed information on voice tags).
The following is a list of menu options for use with voice commands:
Create a voice tag for a menu option
Important:
Please see “Important notes about voice tags” on page 52 for more
information on creating voice tags.
1
Press Menu 7-2 (Voice > Voice commands).
2
Scroll to the menu option you wish to tag, and press Select.
3
Press Options, and select Add command.
4
Press Start. After the tone sounds, speak the voice tag clearly into the microphone.
The phone replays then saves the recorded tag. The
icon appears next to commands which
have voice tags assigned.
Option
Description
Profiles
Used to switch between the available profiles (Normal, Silent,
Meeting, Outdoor, and Pager)
Voice mailbox
Used to access your voice messages
Recorder
Used to start recording a memo
Call log